During baseline creation, existing delivery schedules are to be uploaded, while during optimization, delivery schedules are to be generated.
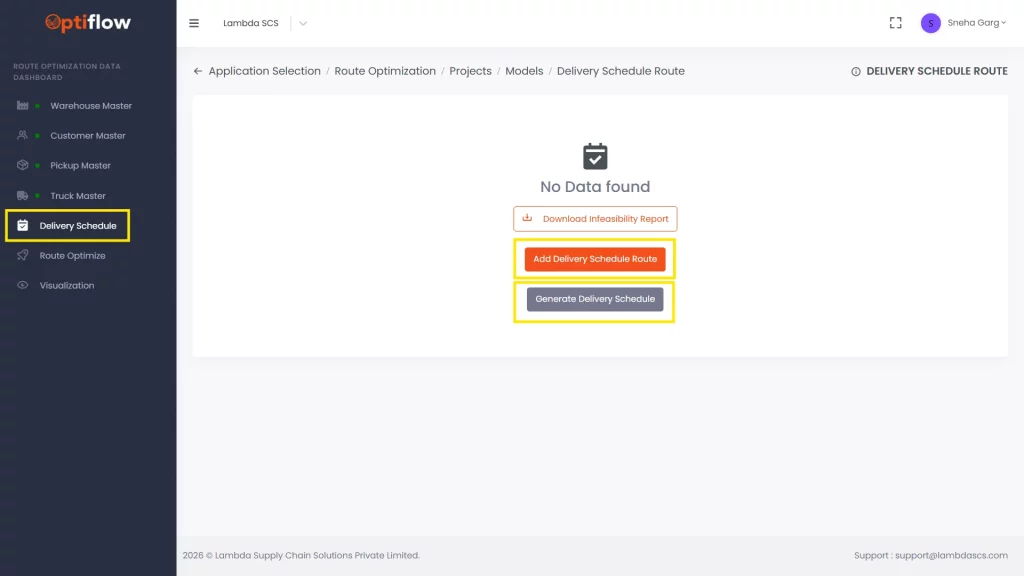
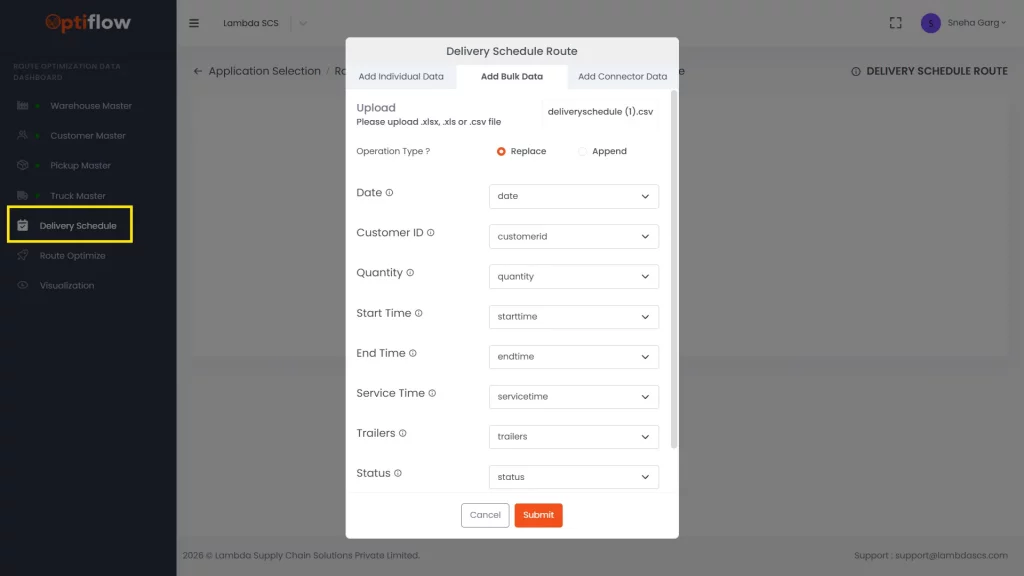
1.Click on “Delivery Schedule” in Data Dashboard and then by clicking on “add delivery schedule route”, you can add individual data or bulk data under respective tabs.
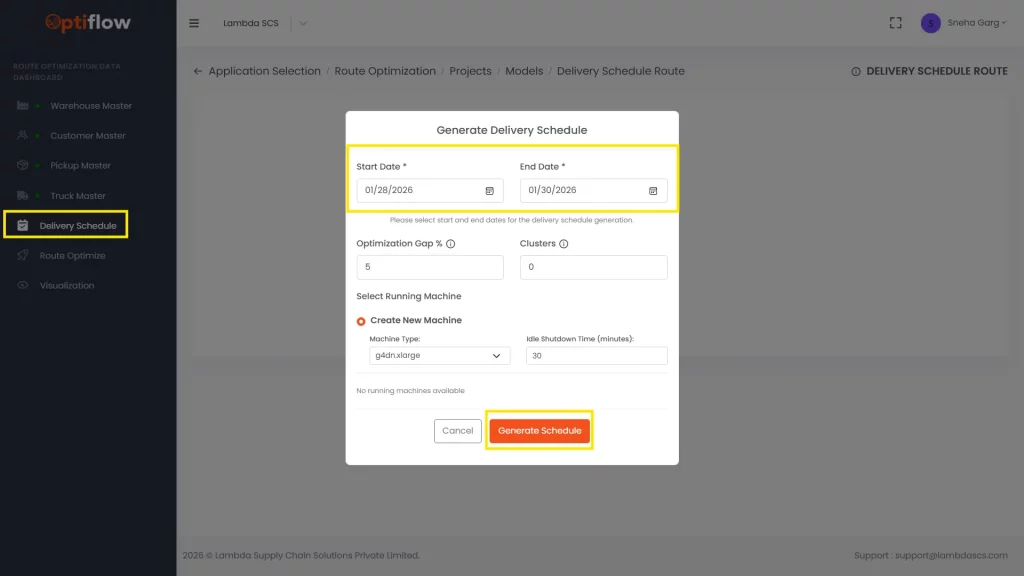
2. When generating the delivery schedule, a date range must be selected for which the schedule is to be created. The model then generates the delivery schedule using the delivery window, service time, and demand from the Customer Master, distributes the quantity across all days of the week, and leaves the trailer field blank, as it is determined by the route optimization algorithm.
Table Description
Date
Date of delivery to be added in this column.
Customer ID
Customer ID to be added in this column.
Quantity
Delivery quantity to be added in this column.
Start Time
Delivery/unload start time to be added in this column.
End Time
Delivery/unload end time to be added in this column.
Service Time
Service time/unload time needs to be added in this column.
Trailers
Trailer/truck id can be added in this column.
Status
1 or 0 can be assigned for active or inactive status of delivery.